General

All posts in the General category

Swarm the World

Published March 26, 2016 by rachelpixiecreations

P1180835I have recently participated in an international art project “Swarm The World

This art project was started by Tasha Lewis an artist living in America. She sent out a plea over the internet for people to participate in a world-wide art project. I volunteered.

The project involved hosting a collection of 350 butterflies made using her own technique and with small magnets attached. The idea was to “swarm” these butterflies in various locations across the world and photograph them. The images would then be uploaded to various websites and collated together. The butterflies would be sent from participant to participant so that they could travel around the world.

I had the butterflies for a few weeks in February and March 2016.

I wanted to focus on the diversity of locations that are available here on the west coast of Cumbria and the edge of the Lake District.

I received the butterflies in February. They arrived in a box along with an ideas booklet, a journal to record this section of their journey, and an emergency repair kit.

P1180865

) The butterfly parcel!

It was interesting to read what they had been up to with the other collaborators!

My first outing with the butterflies was to Ennerdale Water (my closest lake) I knew there would be some interesting locations as not only would I be working with the beautiful landscape of the Lake District but Ennerdale is a reservoir and as such often has industrial equipment relating to the collection and treatment of the water.

This slideshow requires JavaScript.

I took the butterflies to the old abandoned Kangol Factory in Cleator. I installed the swarm at a few different locations including on the safety railings and on the old access gate. This location offered a dilapidated industrial backdrop for the swam.

This slideshow requires JavaScript.

I visited a local church where I was restricted in locations due to the lack of ferrous material available however I created a couple of installations. One on the door fixtures and one on the iron fence.

On the way home I spotted an iron fence with a view up Ennerdale valley where I created a quick installation. I played around a little with the exposure on the camera to obtain a variety of images.

My next adventure took me down onto the old railway line between Whitehaven and Arlecdon. This is just at the end of my road and is part of the C2C (coast to coast) cycle route. It used to be a railway line used by the mining industry to transport the minerals down to the harbour.

It has since been tarmaced over and is now a popular walking and cycling route.

Many of the seats and other accessories are made from parts of the railway including the track and sleepers. These, along with the road tunnel offered ideal locations for the butterflies.

This slideshow requires JavaScript.

Whilst installing and photographing the butterflies under the bridge I had a lovely conversation with a passing couple who were very interested in the project.

I spent some time at Florence Mine. Here I used the wide variety of locations and backdrops to create some wonderful photographs. The blue of the butterflies contrasted well with the red of the iron deposit.

This slideshow requires JavaScript.

I wanted to make sure that I included the wheel of the pit head in the pictures

P1180717

Finding the digger covered in “Florence Red” lent itself to some unusual pictures.

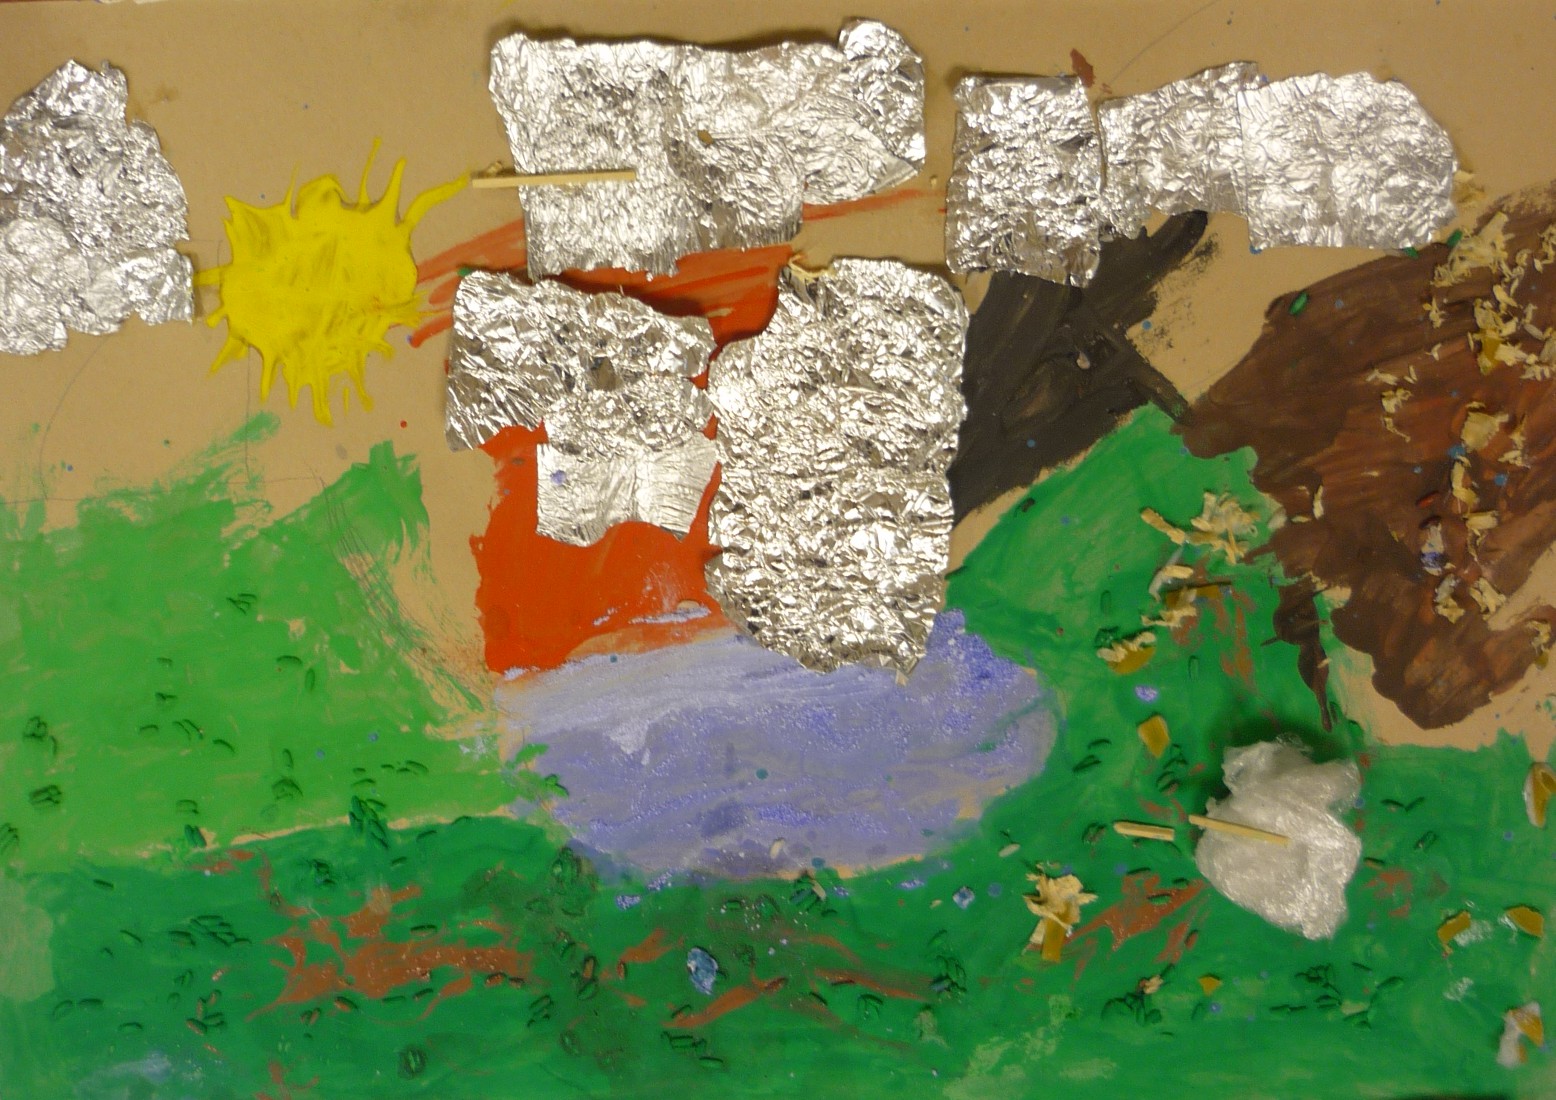
My next location was at Seascale School where I spoke to the children about the project and they then created their own installations around the school and grounds.

This slideshow requires JavaScript.

The children continued their work with butterflies, creating their own and swarming the school!

I visited Muncaster Castle A stunning location offering numerous locations and sites to both show off the butterflies and the stunning scenery there. Many photos were taken and there was much enthusiasm from the castle about the project.

This slideshow requires JavaScript.

I went to my local town of Whitehaven where I took the butterflies down onto the harbour and along the Georgian streets

Whitehaven Harbour marks the beginning of the C2C cycle track (coast-to-coast) This is a well travelled journey across the North of England.

I took the butterflies down to the beach at St. Bees, A popular beach for locals and tourists to visit. There was all sorts of locations I could use. I was able to take some images showing the view along the West Cumbrian coast. The sun was low in the sky over the sea making for some interesting pictures in the bright light however it made it difficult to pick up St. Bees head (A promontory that juts out from the coast). I did get a photo at the start of the coast-to-coast walk!

This slideshow requires JavaScript.

I then travelled around to find some iconic rural locations. I put the butterflies on sheep fences and gates with the sheep and lambs in the fields behind. I even managed to get some pictures with our “beloved” Sellafield (Nuclear re-processing plant) in the distant background!

I used my parent’s farmhouse as the backdrop to a location as it is a typical archetectural design of building for the area.

I am currently studying at college and so created a couple of mini installations there!

We also photographed the swarm at the Egremont Foodbank

My final location for the swarm (before I packaged them up and sent them on their way) was outside my house (an old miner’s terrace) I covered my car and parked it outside the house! (If you look carefully you can see my little cat helper!!)

This slideshow requires JavaScript.

The butterflies were then packaged up and sent on their way (Newcastle next, from one coast to the other!)

I thoroughly enjoyed having the butterflies to visit and I hope they go on to have many more adventures!

All images can be found on Flickr here


Upcycling Old Jumpers

Published March 9, 2016 by rachelpixiecreations

Many of us have, at some point, ended up with a jumper that is no longer useful. Either it will have worn out or been ruined through washing etc.

There are numerous ideas and projects that can be done to repurpose, upcycle or adapt the jumper into something unique, useful, new and even stylish!

Old jumpers are also easily accessible via donations from friends and family or by raiding the rails at the local charity shop (unless I am looking for something specific I rarely spend more than £1 on a jumper!)

I find that the jumpers acquired often dictate the project as different fibres lend themselves to different ways of working with them.

For example if I want to work with felted fabric I will need to select 100% wool fabrics and boil wash them in order to create the suitable material (of course this washing procedure may be what prompts the need to re-purpose the jumper in the first place!) Felting woollen jumpers can be a bit hit-and-miss as some woollen jumpers have been specifically treated to prevent them being unintentionally shrunken in the wash. However many will shrink.

The beauty of working with felted jumpers is that they require little or no  hemming etc. as the fibres will not unravel due to the felting procedure. The fabric can often be used in the same projects that regular felt would be used and as such many decorative projects can result from these. The material may still retain some of its flexibility, however, and can be made into extra warm clothing: outerwear, hats and shoes etc.

Cotton knit jumpers tend to be the most likely to unravel when cut due to the smoothness of the fibres. As such it is important that the cutting stage is done as closely to the sewing stage as possible. Cotton knit is great for repurposing into clothing as it has a good structure and is less likely to misshape. It is also good at retaining body heat in the colder months as well as keeping cool in the summer.

Acrylic knits are, by far, the easiest fabric types to get hold of. They are often the jumpers relegated to the special offer rails in the charity shops. They should not be discredited however as they are likely to be the best source of colour and pattern into any project. Any seams and hems will need to be carefully sealed in the creation process to prevent unraveling of the fabric.

When cutting and sewing old jumpers there are a number of ways to seal the seams and hems.

The most common way involves using an overlocker or serger which will sew and bind the edges of the fabric at the same time. These are becoming more econimic to buy and can cost little more than a sewing machine. Another way to seal in any raw edges is to sew all the seams as “french seams” as explained in the following diagram:

Another seam type which would seal in the raw edges is a felled seam, however this may be trickier to do as the knit fabrics are harder to press flat:

Raw edges can also be sewn in by hand which although takes time may actually be easier!

When upcycling and repurposing old jumpers it is important to experiment and have fun and remember every item you make is unique!


Mixed Media Collage Workshop

Published April 22, 2015 by rachelpixiecreations

On the 12th and 13th of February 2015 I led a couple of enjoyable workshops with primary aged children working with mixed media to create collaged landscapes.

The children were split into two groups. The younger children (4 to 7 year olds) and the older children (7 to 11 year olds).2009 06 02  Ennerdale Water from the west shore

They had been studying their local area and more specifically the valley of Ennerdale. Using images (and their real-life experiences) for inspiration the children created collaged landscapes of the area.

The younger children used coloured paper to create the background of the landscape and then added cotton wool, matchsticks and other collage materials to add texture and depth.

P1180245 P1180251

P1180250 P1180249

P1180248 P1180247

P1180246


The older children also used paint which they combined with sawdust, washing powder, salt and other collage materials to create textured paint effects.

P1180252 P1180258

P1180257 P1180256

P1180255 P1180254

P1180253

The children all had a very messy but fun time and produced some fantastic art-work to go with their topic at school


Here are some of the finished art-works:


P1180283

This fantastic river was created by combining pva glue, blue acrylic paint and woodshavings. Reflective aspects were achieved by the addition of scraps of plastic cling-film.


P1180282

This piece was created with a night scene in mind and includes an owl made by cutting a small section of a white feather.


P1180278

This scene includes a hill created in collaged paper and the water of the lake was formed with the careful application of water, blue and white poster paint and washing powder.


P1180272

Although incomplete this piece shows delicate and careful application of coloured paper to create a uniform mosaiced lake.


P1180273

This piece has been finished with a pva varnish and cotton wool clouds


Other Completed Works:

P1180270 P1180284

P1180286 P1180277

P1180281 P1180285

P1180279 P1180276

P1180280 P1180271

P1180274 P1180275

P1180269 P1180268

P1180267 P1180266

P1180265 P1180264

P1180263 P1180259

P1180262 P1180261

P1180260

Mini Leprechaun Hats Crochet Pattern

Published March 18, 2015 by rachelpixiecreations

After receiving a few requests for this I have decided to share the pattern for my Leprechaun Hats. They were initially designed and created to decorate pub beer pumps for St. Patricks’s Day.

1779809_586560731430028_1589090309_n

(As with all my patterns I would like to warn in advance that my pattern writing style is not necessarily conventional however hopefully they should make some sort of sense!)

Pattern Notes:

  1. Written using US terms <- to convert to GB terms read SC as DC.
  2. Fitted using DK yarn and 4mm hook.

To make hat (Starting at crown):

  1. MC 6 st.
  2. Increase to 12
  3. SC1, inc 1                                  (18)
  4. SC2, inc 1                                  (24)
  5. SC3, inc 1                                   (30)
  6. SC4, inc 1                                   (36)
  7. SC around (blo)                         (36)
  8. SC round                                   (36)
  9. SC round                                   (36)
  10. SC 10 SC2tog                             (33)
  11. SC round                                   (33)
  12. SC round                                     (33)
  13. SC round                                    (33)
  14. SC 9 SC2tog                              (30)
  15. SC round                                    (30)
  16. SC round                                     (30)
  17. SC round                                     (30)
  18. SC 8 SC2tog                                (27)
  19. SC round                                     (27)
  20. SC round                                     (27)
  21. SC round                                     (27)
  22. Change to Black SC round           (27)
  23. SC round                                     (27)
  24. SC round                                     (27)
  25. SC round                                     (27)
  26. Change to Green SC round          (27)
  27. Inc 1, SC 1 round (flo)                  (39)
  28. SC round                                      (39)
  29. Inc 1 SC 2 round                          (52)

Finish off.

Crochet embroider Yellow Buckle Rectangle across black band 5 st wide and 4 st high.

Re-modelled Footstool

Published January 28, 2015 by rachelpixiecreations

Changing and adapting furniture is a fun way to be creative and inventive.

A while ago I purchased a simple footstool similar to the one pictured below but it was never used for its intended purpose as it was so low to the ground.

footstool


With this in mind I decided to experiment in adapting it to be more suitable and comfortable for my purposes.

The first thing I needed to do was work out how it was assembled so I could sort out how to adapt it.

I discovered that the legs were attached by means of a long bolt embedded into each leg which screwed in to a matching threaded insert in the base of the stool.

Initially I intended to merely replace the legs with longer ones which would increase the height of the stool.

I sourced some ash poles and cut them to length. I then removed the bolts from the existing legs and re-embedded them into the ash pole legs. I then re-assembled the stool. This seemed to work effectively and I began to use my new improved stool.

I quickly discovered a fault. By lengthening the legs I had inadvertently changed the engineering of the stool and as such the new legs quickly shifted and distorted from the base of the stool. I realised that some type of re-enforcement was necessary.

I realised that the only way to add re-enforcement was to completely disassemble the stool completely and re-upholster it (The original fabric being old and worn this was something that needed doing eventually anyway.)

After unscrewing the legs and removing the fabric I was left with aplywood base, four ash legs and the foam pad.

I screwed the legs back to the base and added additional screw fixings from the top of the stool back into  the legs to re-enforce the joins.

I then approached the re-upholstery section. I knew that using fabric would not be as practical as I could now no longer contain all the raw edges inside the stool.

I decided to use crochet to make a removable cover. I started by ,making a foundation chain whilst matching up hte proportions of the stool (which is rectangular) I then worked in dc (sc in US terms) around both sides of the foundation chain and adding stitches at each corner both to make the corners turn and to add stitches so the fabric would grow from the centre outwards forming a rectangle. Once the fabric was large enough to cover the top of the stool I then worked a row of blo (back loop only) dc stitches and continued for a few rows without any increasing. This formed the sides of the cover. Once the cover was long enough to cover the foam I worked a row of tr (dc in US terms) and finished the cover off with some scalloped edging and made some ties (by working a chain and slst my way back along the ch)I ran a piece of elastic through the tr (dc in US terms) row and then positioned the cover in place using the elastic and ties to secure the cover.

The finished piece is now much more practical and hard-wearing than it was previously although I don’t always get the chance to use it as the cats quiet like their new elevated sleeping stool!!

foot stool 1

Christmas Creations

Published December 17, 2014 by rachelpixiecreations

At Pixie Creations we love making all sorts of things for the festive season. Over the years all sorts of decorations and festive items have been created to make our Christmas unique and individual.

Every year we have a real Christmas tree which is decorated with all sorts of mis-matched decorations, each one with a special tale to tell; whether it be old baubles that used to belong to grandparents, unique items made by both children and adults or special decorations that were given either as a memento of a special place or person.

tree

At the top of the tree sits a “Rosebud” Doll who’s original clothing is but a distant memory. She has been re-dressed in net and lace to make her sparkle as every Christmas Fairy should!

fairy

Some of the newer additions to the tree decorations added in more recent years include crochet snowflakes (which were also made as gifts enclosed in last year’s card) and stuffed robins.

crochet snowflake 2 robin

During Advent we light advent candles to count down the days to Christmas. These are simply made using tea light candles which are then labeled up with the days in December. A new candle is added for each day whilst the ones that have finished are re-used as firelighters to keep us warm!

advent candle

Nothing beats a more quirky decoration such as these crochet fairy lights. Unfortunately they don’t emit much light…..crochet fairy lights

A crochet santa hat can have all sorts of uses.

santa hat santa hats

These were initially designed to decorate the top of beer pump handles for a few local pubs in the area.

beer pumps

But have also been used to make Mini-Mes festive too!

santa mini me

Once the festive season is in full swing we use our Twelve Days of Christmas Calendar to mark off the 12 days of celebration.

12 days of christmasWe shall continue to add to traditions and celelbrations by creating more and more as the years go on!

Tree Wallhanging

Published December 3, 2014 by rachelpixiecreations

One of our creative projects has included a fabric Wall-hanging of a tree.

tree 2

This is made from a brown patterned piece of fabric (approximately 4 foot wide by 6 foot high) The fabric was hemmed around all four edges with a large channel sewn into the top which houses a long branch of willow wood. The purpose of which is to hold the image flat and square.

Onto this was sewn a hand-cut appliqué  of the outline of a tree. This was cut from cream fabric and after using fuseable interfacing to hold the image in place it was carefully sewn down by hand using small blanket stitches also in creamtree 5

Once this was complete detail and texture was added using beads, sequins and other small trinkets. In the high branches a cobweb was made using small crystalline beads.

tree 1

Strings of beads were sewn slung between the branches and larger pendants hung in the branches.

tree 3

Around the edge of the tree and its decorations small silver and holographic star sequins were sewn in place to add detail.

tree 6

The completed hangin is displayed in a wall by resting each end of the wooden pole on a carefully positioned nail in the wall. It looks wonderful and sparkly in the winter sunshine!

Crochet pattern #2 Covers for Glass Jars

Published November 28, 2014 by rachelpixiecreations

Crochet covers for glass jars to make them decorative. Usable as t-light holders, pencil pots etc.. (I even have one as a container for my crochet hooks!!)

Crochet candle jar

These can be adapted for any size jar with a bit of figuring out!

Yarn: Any…. vary the size of hook and the number of “rounds” depending on the jar size

Hook: depends on the yarn…. again make the pattern work relating to the yarn and jar size.

Jar: I have been using “Supermarket own brand Mayo” jars which are all similar size and shape but the pattern needs to be adjusted for the size of jar.

This pattern uses US stitches but ca be adapted for UK by reading SC as DC and DC as TRC

  1. MC6                            (6)
  2. SC2 in each st            (12)
  3. SC1, SCincrease         (18)
  4. SC2, SCincrease         (24)
  5. SC3, SCincrease         (30)
  6. SC4, SCincrease         (36)
  7. SC5, SCincrease          (42)
  8. SC6, SCincrease         (48)            (VARY the increase rings here to fit the jar as necessary…… the next round would have 54 st in total and then increasing in multiples of 6…. You can also stop before frow 8 if the disc fits the base of your jar.)
  9. SC a row without increase in blo to turn up the sides of the jar
  10. 1st row of “holes” CH4, *DC, CH2* repeat *to* around the ring and slst to 2nd ch from beginning “loop”.
  11. Repeat row 10
  12. Repeat row 10

Continue rows of “holes” to the desired height (for the jars I used this was 12 rows of “holes” up to row 22

For the top I made scallops by DC x5 in the first DC from the join, then slst into the top of the next DC and so on around the top of the cover.

Slst to beginning and fasten off

Weave in all ends

Crochet candle jar 3 Crochet candle jar 2 Crochet candle jar 1 Crochet candle jar 4


Crochet Pattern for Basic Mini-Me Body

Published November 26, 2014 by rachelpixiecreations

How to make a basic body shape for a Mini-me

Naked LadyThis pattern is written using US stitch names. To convert to UK stitch terms read SC (Single Crochet) as DC (Double Crochet) All other parts of the pattern will be the same.

You will need

Yarn: Arran weight (I use any brand. Colour-wise I use cream for Caucasian skin but obviously the colour can be varied depending on the skin colour of the person to be made.)

Hook size: 4mm

Stuffing: Any type of stuffing will work. I have used all sorts from hollow fibre toy-stuffing to rags and cut up fabric. The mini-mes I make tend to be fairly rigid and I am currently using woolen blankets cut up for stuffing but fleece fabric and old jumpers work just as well. You will need some fabric to cover the wiring to prevent it poking through the hands and feet.

Wire: Any type of craft-style wire will work. I use stripped down copper electrical wire as I find this more cost-effective than purpose sold crafting wire. Your wire needs to be fairly thick (2.5mm² CSA is ideal).

Additional notes: Unless otherwise stated repeat each set of instructions around the ring until you have the required number of stitches. When decreasing (SC2tog) it looks neater if you SC in flo each time. (invisible decrease)

Head (Stuff as you go)

Row:

  1. MC6 (Magic Circle/Magic Ring)          (6)
  2. 2SC in each st.                                   (12)
  3. SC1, 2SC in same st (Increase)           (18)
  4. SC2, 2SC increase                              (24)
  5. SC3, 2SC increase                              (30)
  6. SC4, 2SC increase                               (36)
  7. SC in each st around                            (36)
  8. SC in each st around                            (36)
  9. SC in each st around                            (36)
  10. SC4, SC2tog (flo)                               (30)
  11. SC3, SC2tog (flo)                                (24)
  12. SC2, SC2tog (flo)                                (18)
  13. SC1, SC2tog (flo)                                (12)
  14. SC2tog (flo)                                          (6)

Fasten off

Body Stuff as you go

  1. MC10                                                   (10)
  2. 2SC in each st.                                     (20)
  3. SC1, 2SC increase                               (30)
  4. SC in each st.                                       (30)
  5. SC in each st.                                       (30)
  6. SC in each st.                                       (30)
  7. SC3 SC2tog                                          (24)
  8. SC in each st.                                       (24)
  9. SC in each st.                                       (24)
  10. SC in each st.                                       (24)
  11. SC3, SC2tog                                       (20)
  12. SC in each st.                                       (20)
  13. SC in each st.                                       (20)
  14. SC in each st.                                       (20)
  15. SC2 SC2tog                                         (15)
  16. SC in each st.                                       (15)
  17. SC in each st.                                       (15)
  18. SC in each st.                                       (15)
  19. SC1, SC2tog                                         (10)
  20. SC3tog, SC2, SC3tog, SC2                   (6)

Fasten off.

Arms Make 2

  1. MC6                                                    (6)
  2. SC2, SC2 increase                              (9)
  3. SC in each st.                                       (9)
  4. SC in each st.                                       (9)  Stuff hand
  5. SC1, SC2tog                                        (6)
  6. SC in each st.                                       (6)
  7. SC in each st.                                       (6)
  8. SC in each st.                                       (6)
  9. SC in each st.                                       (6)
  10. SC in each st.                                       (6)
  11. SC in each st.                                       (6)
  12. SC in each st.                                       (6)
  13. SC in each st.                                       (6)
  14. SC in each st.                                       (6)
  15. SC in each st.                                       (6)
  16. SC in each st.                                       (6)

Fasten off

Legs Make 2

    • Ch4
    • SC2 in 2nd ch from hook, slst in next ch, slst4 in last ch.
    • Other side of CH row: slst in next ch, SC2 in next ch, slst into first st to complete first round
  1. SC around increasing at toe (wide end) and heel (narrow end) to make 15 stitches                      (15)
  2. SC around blo                                                                                                                                  (15)
  3. SC2tog x5 at the front of the foot, SC6 in each st around the heel (this forms the top of the foot)  (11)
  4. SC2tog x3 at fron t of foot, SC5 in each st around the heel                         (8)
  5. SC in each st.                                                                                              (8)
  6. SC in each st.                                                                                              (8)
  7.  SC in each st.                                                                                             (8)
  8. SC in each st.                                                                                              (8)
  9. SC in each st.                                                                                              (8)
  10. SC in each st.                                                                                              (8)
  11. SC in each st.                                                                                              (8)
  12. SC in each st.                                                                                              (8)
  13. SC in each st.                                                                                              (8)
  14. SC in each st.                                                                                              (8)
  15. SC in each st.                                                                                              (8)
  16. SC in each st.                                                                                              (8)
  17. SC in each st.                                                                                              (8)
  18. SC in each st.                                                                                              (8)
  19. SC in each st.                                                                                              (8)
  20. SC in each st.                                                                                              (8)
  21. SC in each st.                                                                                              (8)

Fasten off.

Stuff arms and legs by making a wire skeleton/armature. Cut lengths of wire just longer than twice the completed length of the crochet limbs. fold the two cut ends to the centre and twist together.

Wrap these wires in fabric (slightly softer/thicker fabric such as blanket material or micro-fibre fleece works best) bind them up with yarn and then stuff them down into the arms and legs.

Position all the body-parts together and sew securely into a body.

Additional option for a woman…..

Female boobies! x2

  1. MC6                                  (6)
  2. SC2 SC2inc                       (9)
  3. SC in each st around         (9)

body partsThis is the basic body shape I use when making mini-mes, however I adapt the sizing to suit the person (eg. fatter/thinner body shape, longer torso/legs/arms for a taller person etc.)

Once the basic body-shape has been made I am then able to add all the distinguishing features and clothing to replicate the person to be made.

For more information/assistance please get in touch via rachel@pixiecreations.co.uk

Tablet Weaving

Published November 12, 2014 by rachelpixiecreations

Whilst demonstrating tablet weaving at various craft fairs and events I often have interested people wanting to know how tablet weaving works.

Tablet weaving is a method of weaving strong, narrow, decorative braid. Although the equipment required is cheap and simple, there is a vast range of possible patterns. Uses of tablet-woven braid includes the decoration of clothing, and use as belts and straps. Materials used in the past include wool, linen, silk, and gold and silver thread.

Tablet woven braids were made in Europe from the Bronze Age up until medieval times, and they are still made in parts of the world such as Turkey and Pakistan. The art of tablet or card weaving has developed over time to the extent that the designs and patterns have become more and more challenging. Here you can find a picture of someone weaving with 400 cards!!

I was first introduced to tablet weaving through The Vikings re-enactment society when I was a child. My family had connections through the Wychwood Warriors based in and around Oxford.

Vikings used tablet braid widely to decorate fabrics, strengthen hems and seams and as belts, straps and braids as can be seen on the following pictures.

vike kit   terry vike kit 2

I have made tablet braid using many different methods and over time I have developed a frame and type of tablet that works best for me.

Initially I used old beer mats with holes punched in the corners and tied the warp threads between legs of furniture in my house to keep the tension.

I found the cardboard of the beer-mats wore through very easily and were not authentic. I also needed something more portable. As such I designed and made a frame which I could transport to different events. I also made different types of tablets, plastic ones for use when authenticity was not an issue and wooden tablets to put in place when in an authentic re-enactment setting.

How I set up Tablet Weaving

First I draw out the design on squared paper. The simplest and most common design involves chevrons and diamond shapes.

I then use the design to calculate the number of warp threads needed and cut these. I usually use cotton crochet thread as this behaves in a similar way to linen but is more readily available. (I have used 100% wool in the past but this has a tendency to felt in the washing process and thus loose the pattern.)

I then gather together all the equipment needed. In the picture below you can see the wooden sections of the frame, the cut threads, the plastic tablets and a ball of weft thread. (The weft thread can be any colour as the pattern is made with the warp threads.

2013_0523 567

The following image is a close-up of the pattern, this design is a basic red chevron… half a diamond shape with a yellow inside and a blue background. the braid will be edged with a fawn border.

2013_0523 569

In the design you can see the different ways of threading the tablets, either s-thread or z-thread. This will be explained later.

This design needs 10 tablets (the number of columns across) The tablets I generally use have been cut out from sheets of plastic (similar to the type you will find on the cover of plastic display folders) Each tablet has a hole punched in each corner and an arrow drawn on to show start/finish direction (this will help when weaving to keep all the tablets in the correct orientation)

2013_0523 570

Each tablet corresponds to one of the columns in the design. The holes correspond to the A, B, C, D rows in the design (some people like to write these letters directly onto the tablets.)

For the first tablet each hole needs to be threaded in fawn using a z-thread set-up (meaning the threads come in to each hole from the right and out from the left)

2013_0523 573   2013_0523 576

Once all four warps have been threaded in the correct way they are tied securely to the ring at the top of the frame.

2013_0523 574

I then refer to the diagram for the next tablet (next column across). This tells me that I need one red thread and three blue.

2013_0523 578

After threading the tablets they are tied onto the ring next to the previous threads. To keep the warp threads organised I stack the tablets in order.

2013_0523 579  2013_0523 580

Once all the tablets are threaded up in the correct threads and stacked in order I loosely tie the stack of tablets together.

2013_0523 592  2013_0523 593

2013_0523 596

At the opposite end of the frame I now have a big tangle of all the excess warp thread.

2013_0523 595This needs to be carefully teased out in order and wrapped securely around one of the poles which is then securely tucked under the arms of wood protruding from the end of the frame to  add tension to the warp threads.

2013_0523 599

I then untie the binding around the tablets and attach the ball of weft thread onto the ring at the top.

2013_0523 601 2013_0523 602

The weft thread is passed through the shed that has formed when the tablets are square.

2013_0523 603

The tablets are then all rotated 90° clockwise. The warp thread is passed back and the tablets are rotated 90° clockwise again.

2013_0523 604

Once this has been done 4 times half of the diamond should have been woven (the chevron shape as on the diagram.)

2013_0523 607

To complete the diamond shape the weaving continues with the weft thread passing back and forth through the warp threads but now the tablets are turned anti-clock wise four times. This will now create the complete diamond shape.

2013_0523 608 2013_0523 609

If at any point the weaving is left the tablets can be re-tied together to prevent tangling.

2013_0523 612

As the braid grows it will be necessary to move the work along the frame to maintain a large working area. To do this the unwoven ends of the warp threads are unwound from the end pole and the woven braid is wound onto the other end of the frame.

For transportation the tablets are bound together and then the frame is wrapped up securely in a custom-made cover to protect the weaving and components.

902235_527224990696936_1987937201_o

For authentic situations the plastic tablets can be replaced with wooden (bone or hardened leather would also be suitable) The portability of this frame and set up means that it is possible for me to weave in all sorts of locations.

authentic tablet braid

Using this frame I have woven many different colour combinations and patterns including this 9m section (part of a commission for a Viking display in Barrow Dock Museum)

red white braid

I have also tried various patterns including this specially commissioned “rainbow” which incorporated diamonds, chevrons and crosses.

rainbow braid

For this I turned the tablets 12 turns clockwise followed by 12 turns anti-clockwise.

Tablet weaving can be a lot of fun! I am hoping to try different patterns in the future including a rams horn pattern.

If you would like any more information about tablet weaving please contact me via rachel@pixiecreations.co.uk