decorative

All posts tagged decorative

Crochet pattern #2 Covers for Glass Jars

Published November 28, 2014 by rachelpixiecreations

Crochet covers for glass jars to make them decorative. Usable as t-light holders, pencil pots etc.. (I even have one as a container for my crochet hooks!!)

Crochet candle jar

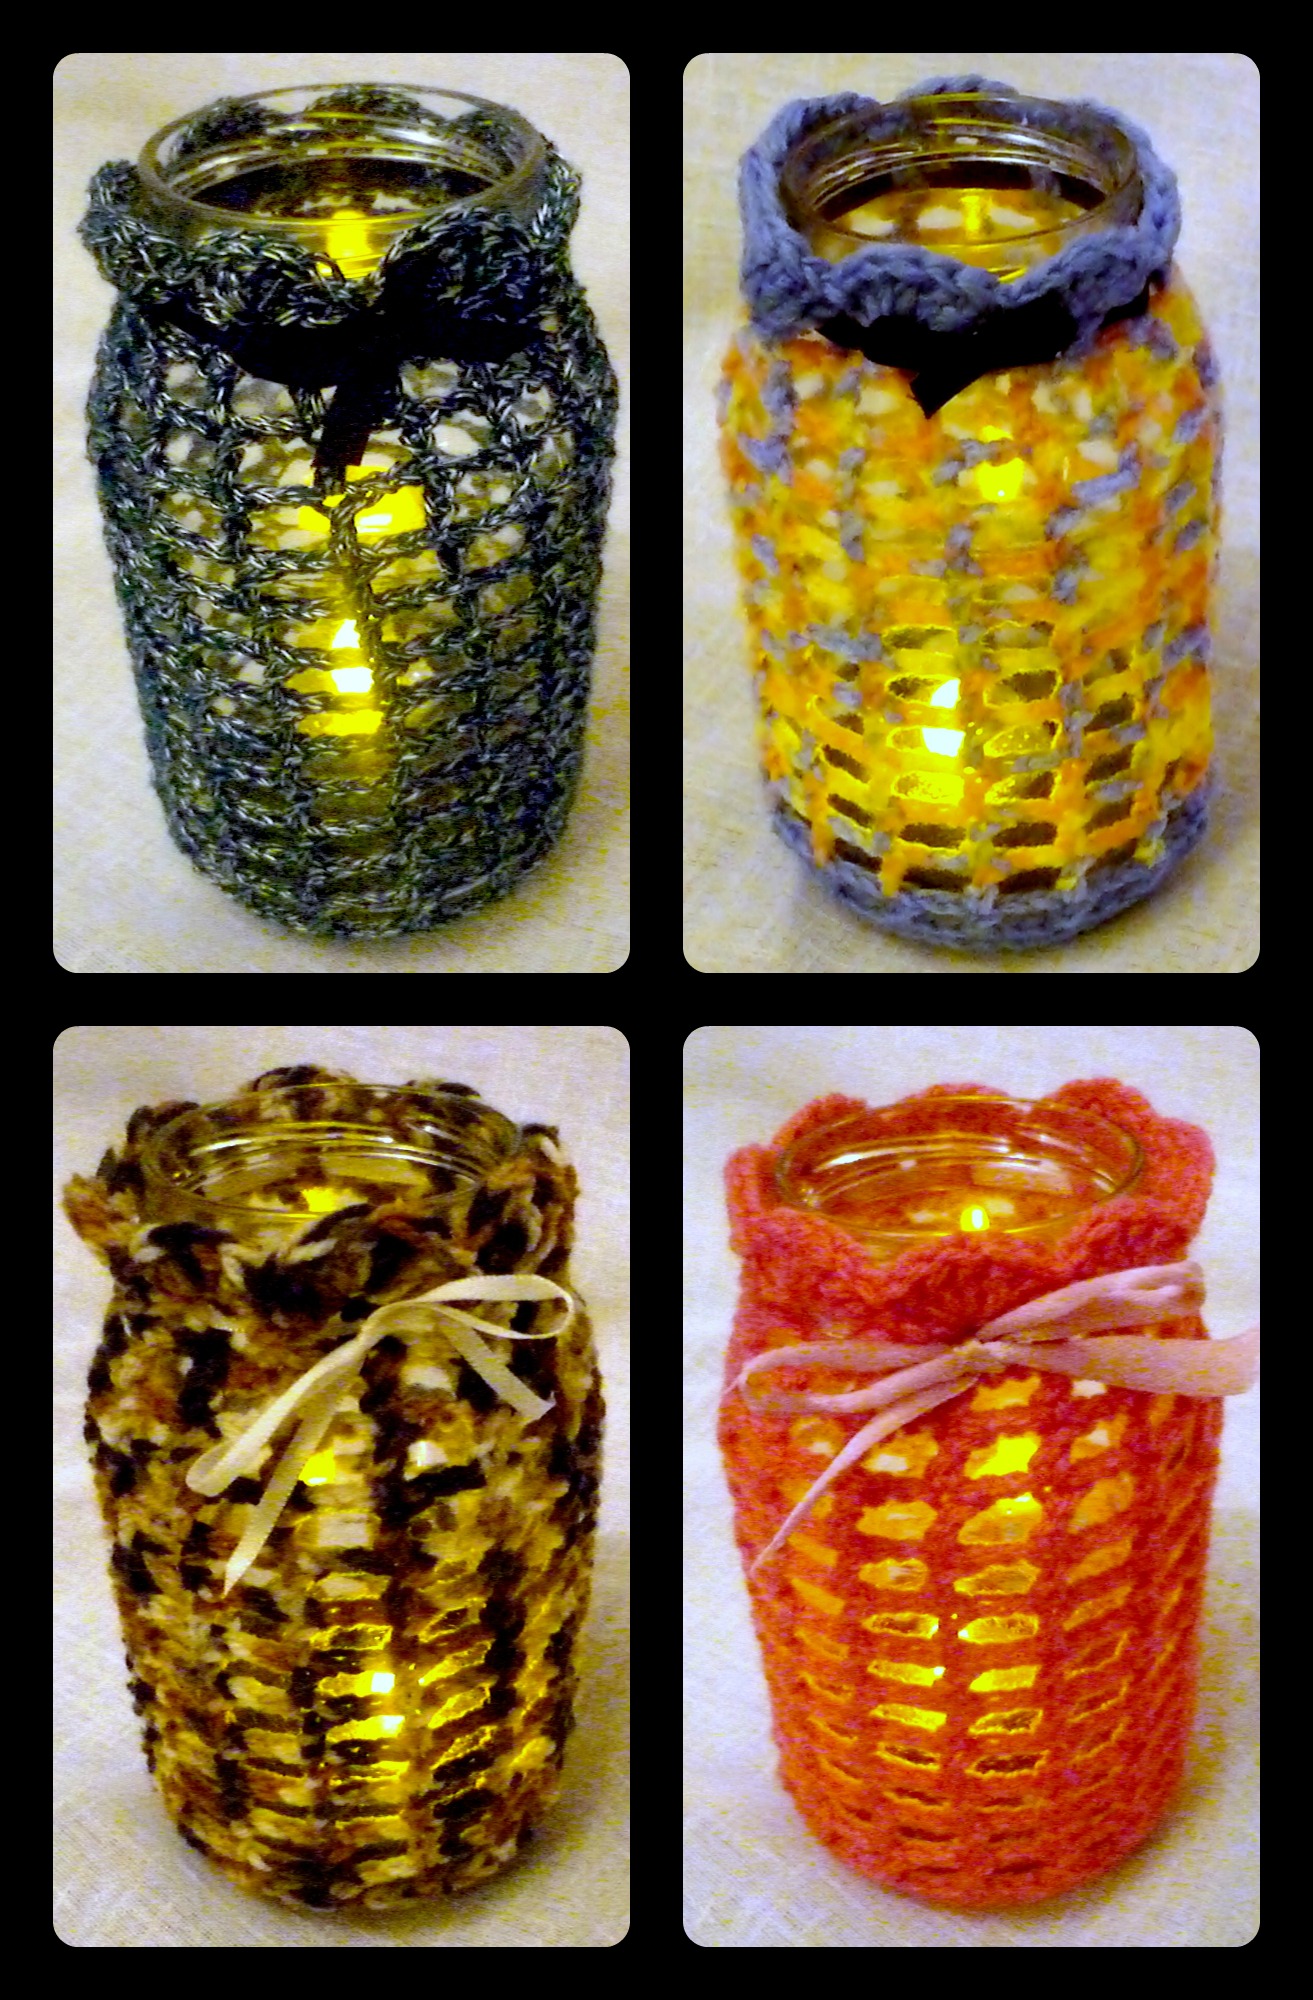
These can be adapted for any size jar with a bit of figuring out!

Yarn: Any…. vary the size of hook and the number of “rounds” depending on the jar size

Hook: depends on the yarn…. again make the pattern work relating to the yarn and jar size.

Jar: I have been using “Supermarket own brand Mayo” jars which are all similar size and shape but the pattern needs to be adjusted for the size of jar.

This pattern uses US stitches but ca be adapted for UK by reading SC as DC and DC as TRC

  1. MC6                            (6)
  2. SC2 in each st            (12)
  3. SC1, SCincrease         (18)
  4. SC2, SCincrease         (24)
  5. SC3, SCincrease         (30)
  6. SC4, SCincrease         (36)
  7. SC5, SCincrease          (42)
  8. SC6, SCincrease         (48)            (VARY the increase rings here to fit the jar as necessary…… the next round would have 54 st in total and then increasing in multiples of 6…. You can also stop before frow 8 if the disc fits the base of your jar.)
  9. SC a row without increase in blo to turn up the sides of the jar
  10. 1st row of “holes” CH4, *DC, CH2* repeat *to* around the ring and slst to 2nd ch from beginning “loop”.
  11. Repeat row 10
  12. Repeat row 10

Continue rows of “holes” to the desired height (for the jars I used this was 12 rows of “holes” up to row 22

For the top I made scallops by DC x5 in the first DC from the join, then slst into the top of the next DC and so on around the top of the cover.

Slst to beginning and fasten off

Weave in all ends

Crochet candle jar 3 Crochet candle jar 2 Crochet candle jar 1 Crochet candle jar 4


How to make an Upcycled Magazine Bowl

Published May 18, 2014 by rachelpixiecreations
Step-by-Step instructions for making a bowl from magazines. (Magazine print is likely to rub off onto your fingers making them black but washes off quite easily!)
You will need: 
  1. Magazines/catalogues/junk mail etc (make sure you’ve finished reading them!)
  2. Sticky tape
  3. Scissors
  4. Varnish and paintbrush (or PVA glue or similar)
  5. Paper slicer (optional)
Step 1 Slice up the magazines into workable strips  (I make 9cm widths the length of the page)
Step 2 Fold each strip lengthways in half
 Step 3 Open flat and fold one side into the centre crease
Step 4 Fold the new edge into the centre again.
Step 5 Turn page around and fold the edge in to the middle again. 
Step 6 Fold the final edge in to the middle. 
Step 7 Fold back along the centre line 
Step 8 Repeat this for the rest of your magazine strips.  To make a 17cm diameter bowl I used approximately 150 strips of magazine.
(I kept them up together in a large plastic jug.) 

Now to start rolling!

Step 9 Carefully start to make the roll. Curl the first paper around itself don’t worry if its not tight enough you can pull it tighter later. 
Step 10 When you come to the end of the first piece carefully line up the next piece slightly overlapping the first and stick together with clear sticky tape. Continue rolling, adding pieces one at a time, sticking them together as you go.
Step 11 As the coil grows you will find it easier to work pushing the disc onto the table. pull the end as you go keeping the coil tight.
Step 12 If you need to stop coiling (either to cut more tape or for any other reason) use elastic bands to secure the loose end. Wrap the disc well to stop it unrolling!
Step 13 Continue rolling adding all the pieces until you have reached the size you want. (the outer edge will make the rim of the bowl) 
Step 14 Choose the last 2 or 3 pieces carefully to get the colours you want for the rim of the bowl. 
Step 15 Cut a small piece of tape and stick the last end back to the rim of the bowl. 
Step 16 You now have a flat disc. 
Step 17 Carefully shape the bowl by pushing the sides up and the center down. Take care with this so you don’t loose the whole structure of the disc! 
Step 18 Once you have the shape you want coat the bowl in varnish (or PVA or similar) The paper will soak up lots of the varnish/glue. Use plenty!
Step 19 Leave to dry. It will take a while and you may want to add more coats of glue/varnish to make the bowl stronger. 

You now have a lovely recycled bowl!