Whilst demonstrating tablet weaving at various craft fairs and events I often have interested people wanting to know how tablet weaving works.
Tablet weaving is a method of weaving strong, narrow, decorative braid. Although the equipment required is cheap and simple, there is a vast range of possible patterns. Uses of tablet-woven braid includes the decoration of clothing, and use as belts and straps. Materials used in the past include wool, linen, silk, and gold and silver thread.
Tablet woven braids were made in Europe from the Bronze Age up until medieval times, and they are still made in parts of the world such as Turkey and Pakistan. The art of tablet or card weaving has developed over time to the extent that the designs and patterns have become more and more challenging. Here you can find a picture of someone weaving with 400 cards!!
I was first introduced to tablet weaving through The Vikings re-enactment society when I was a child. My family had connections through the Wychwood Warriors based in and around Oxford.
Vikings used tablet braid widely to decorate fabrics, strengthen hems and seams and as belts, straps and braids as can be seen on the following pictures.


I have made tablet braid using many different methods and over time I have developed a frame and type of tablet that works best for me.
Initially I used old beer mats with holes punched in the corners and tied the warp threads between legs of furniture in my house to keep the tension.
I found the cardboard of the beer-mats wore through very easily and were not authentic. I also needed something more portable. As such I designed and made a frame which I could transport to different events. I also made different types of tablets, plastic ones for use when authenticity was not an issue and wooden tablets to put in place when in an authentic re-enactment setting.
How I set up Tablet Weaving
First I draw out the design on squared paper. The simplest and most common design involves chevrons and diamond shapes.
I then use the design to calculate the number of warp threads needed and cut these. I usually use cotton crochet thread as this behaves in a similar way to linen but is more readily available. (I have used 100% wool in the past but this has a tendency to felt in the washing process and thus loose the pattern.)
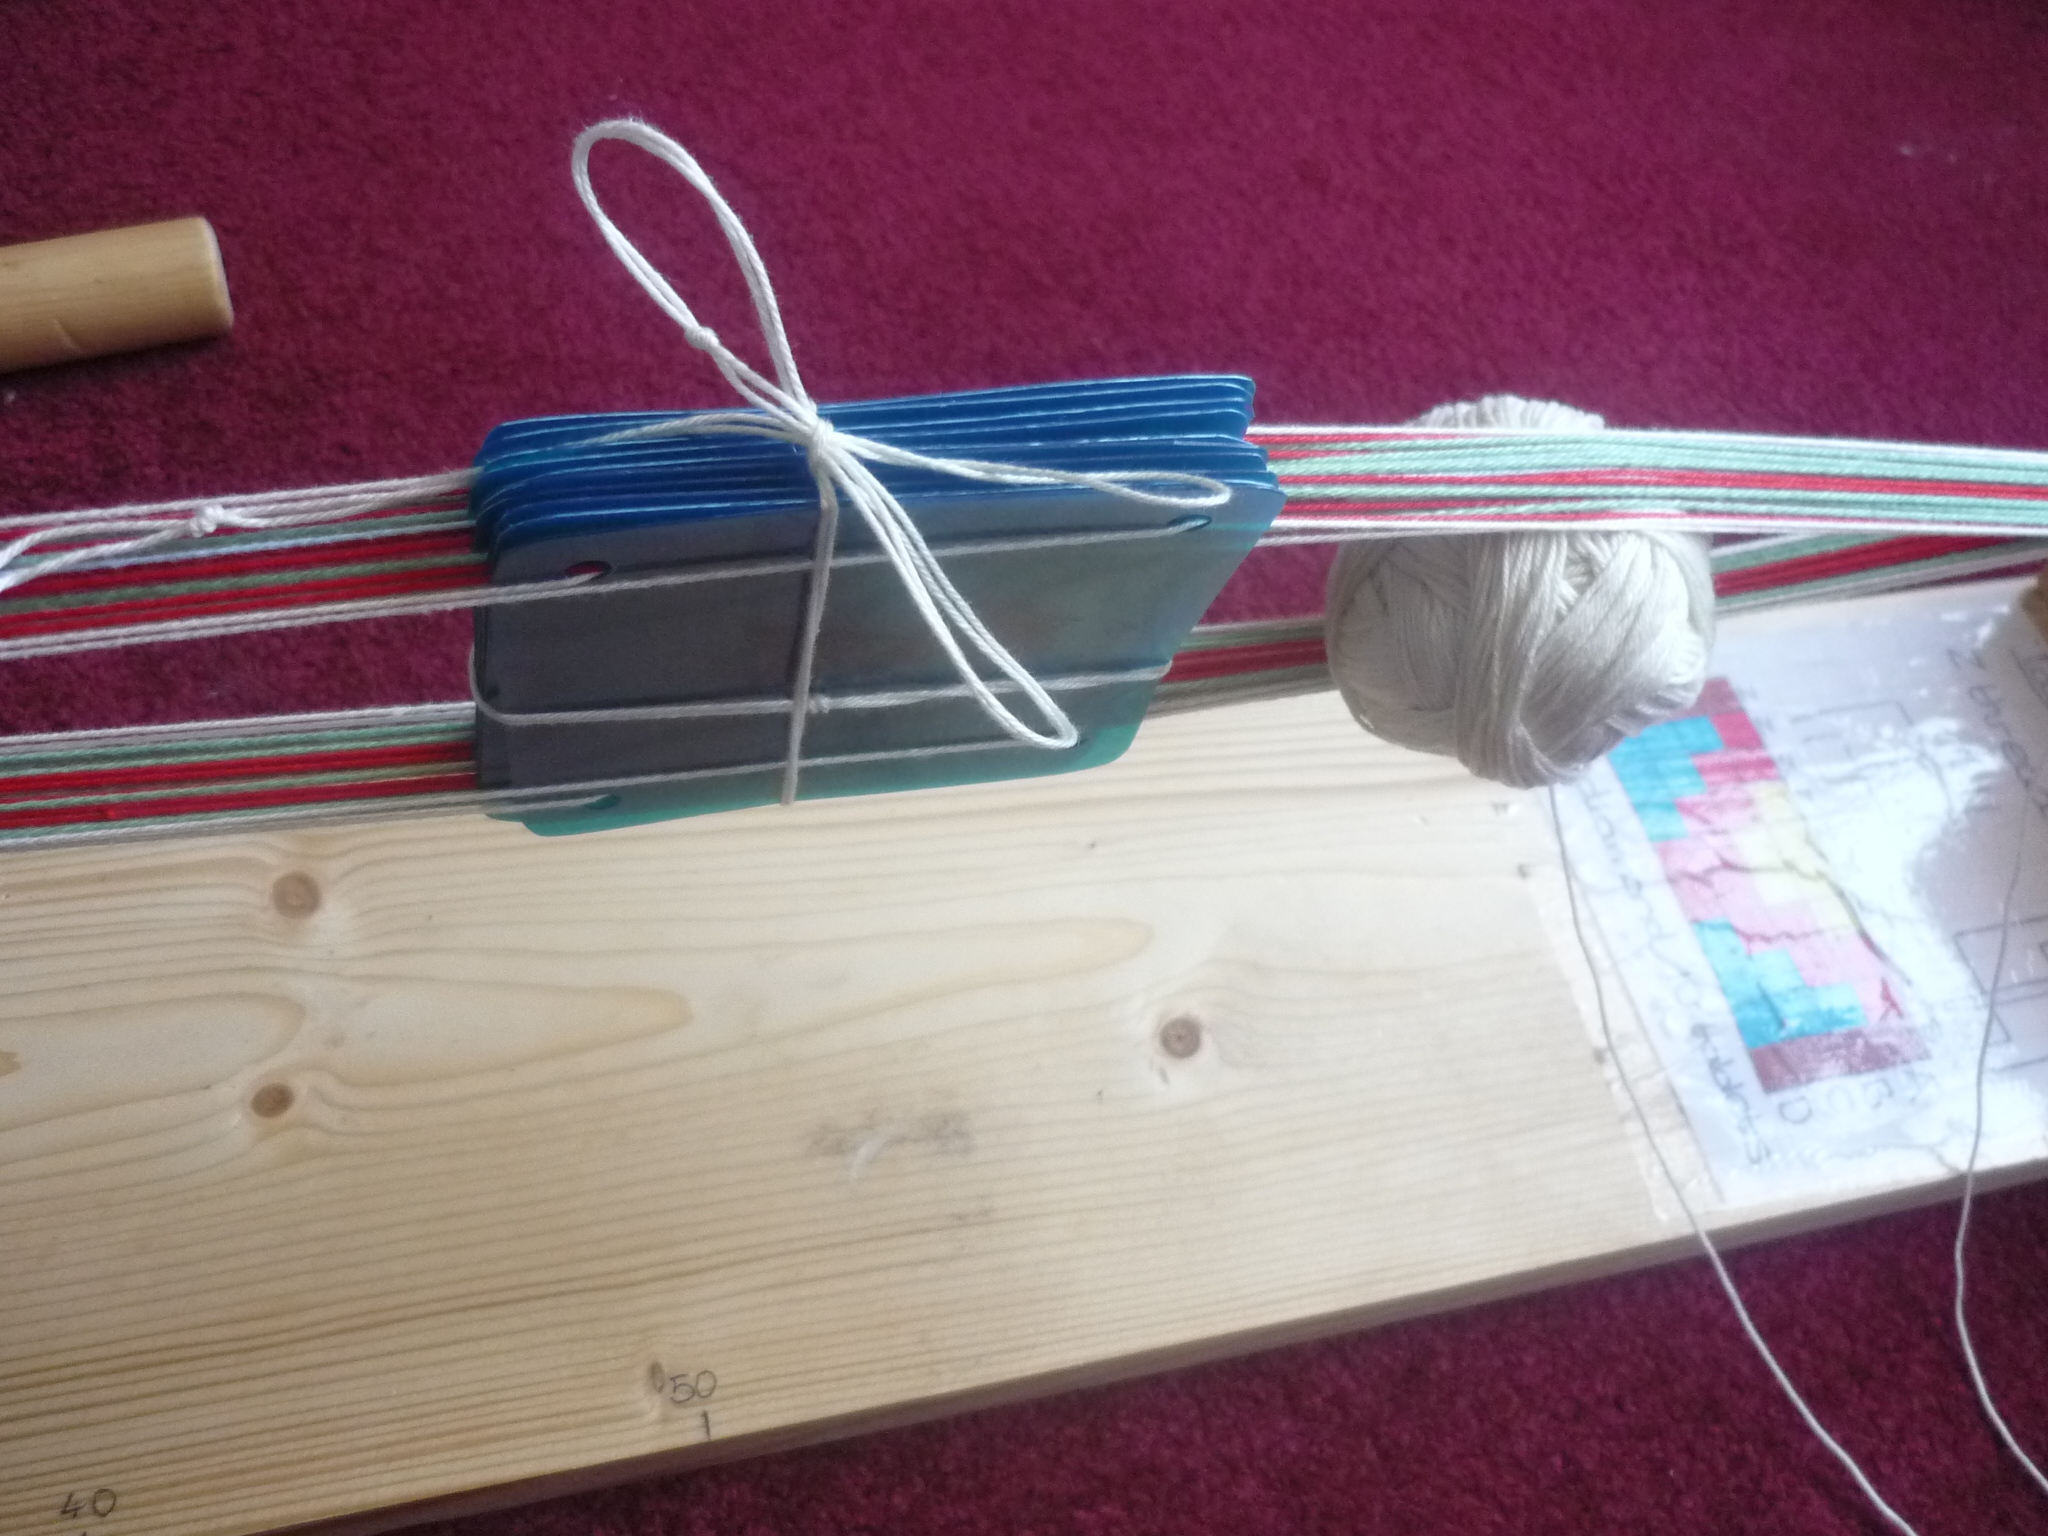
I then gather together all the equipment needed. In the picture below you can see the wooden sections of the frame, the cut threads, the plastic tablets and a ball of weft thread. (The weft thread can be any colour as the pattern is made with the warp threads.

The following image is a close-up of the pattern, this design is a basic red chevron… half a diamond shape with a yellow inside and a blue background. the braid will be edged with a fawn border.
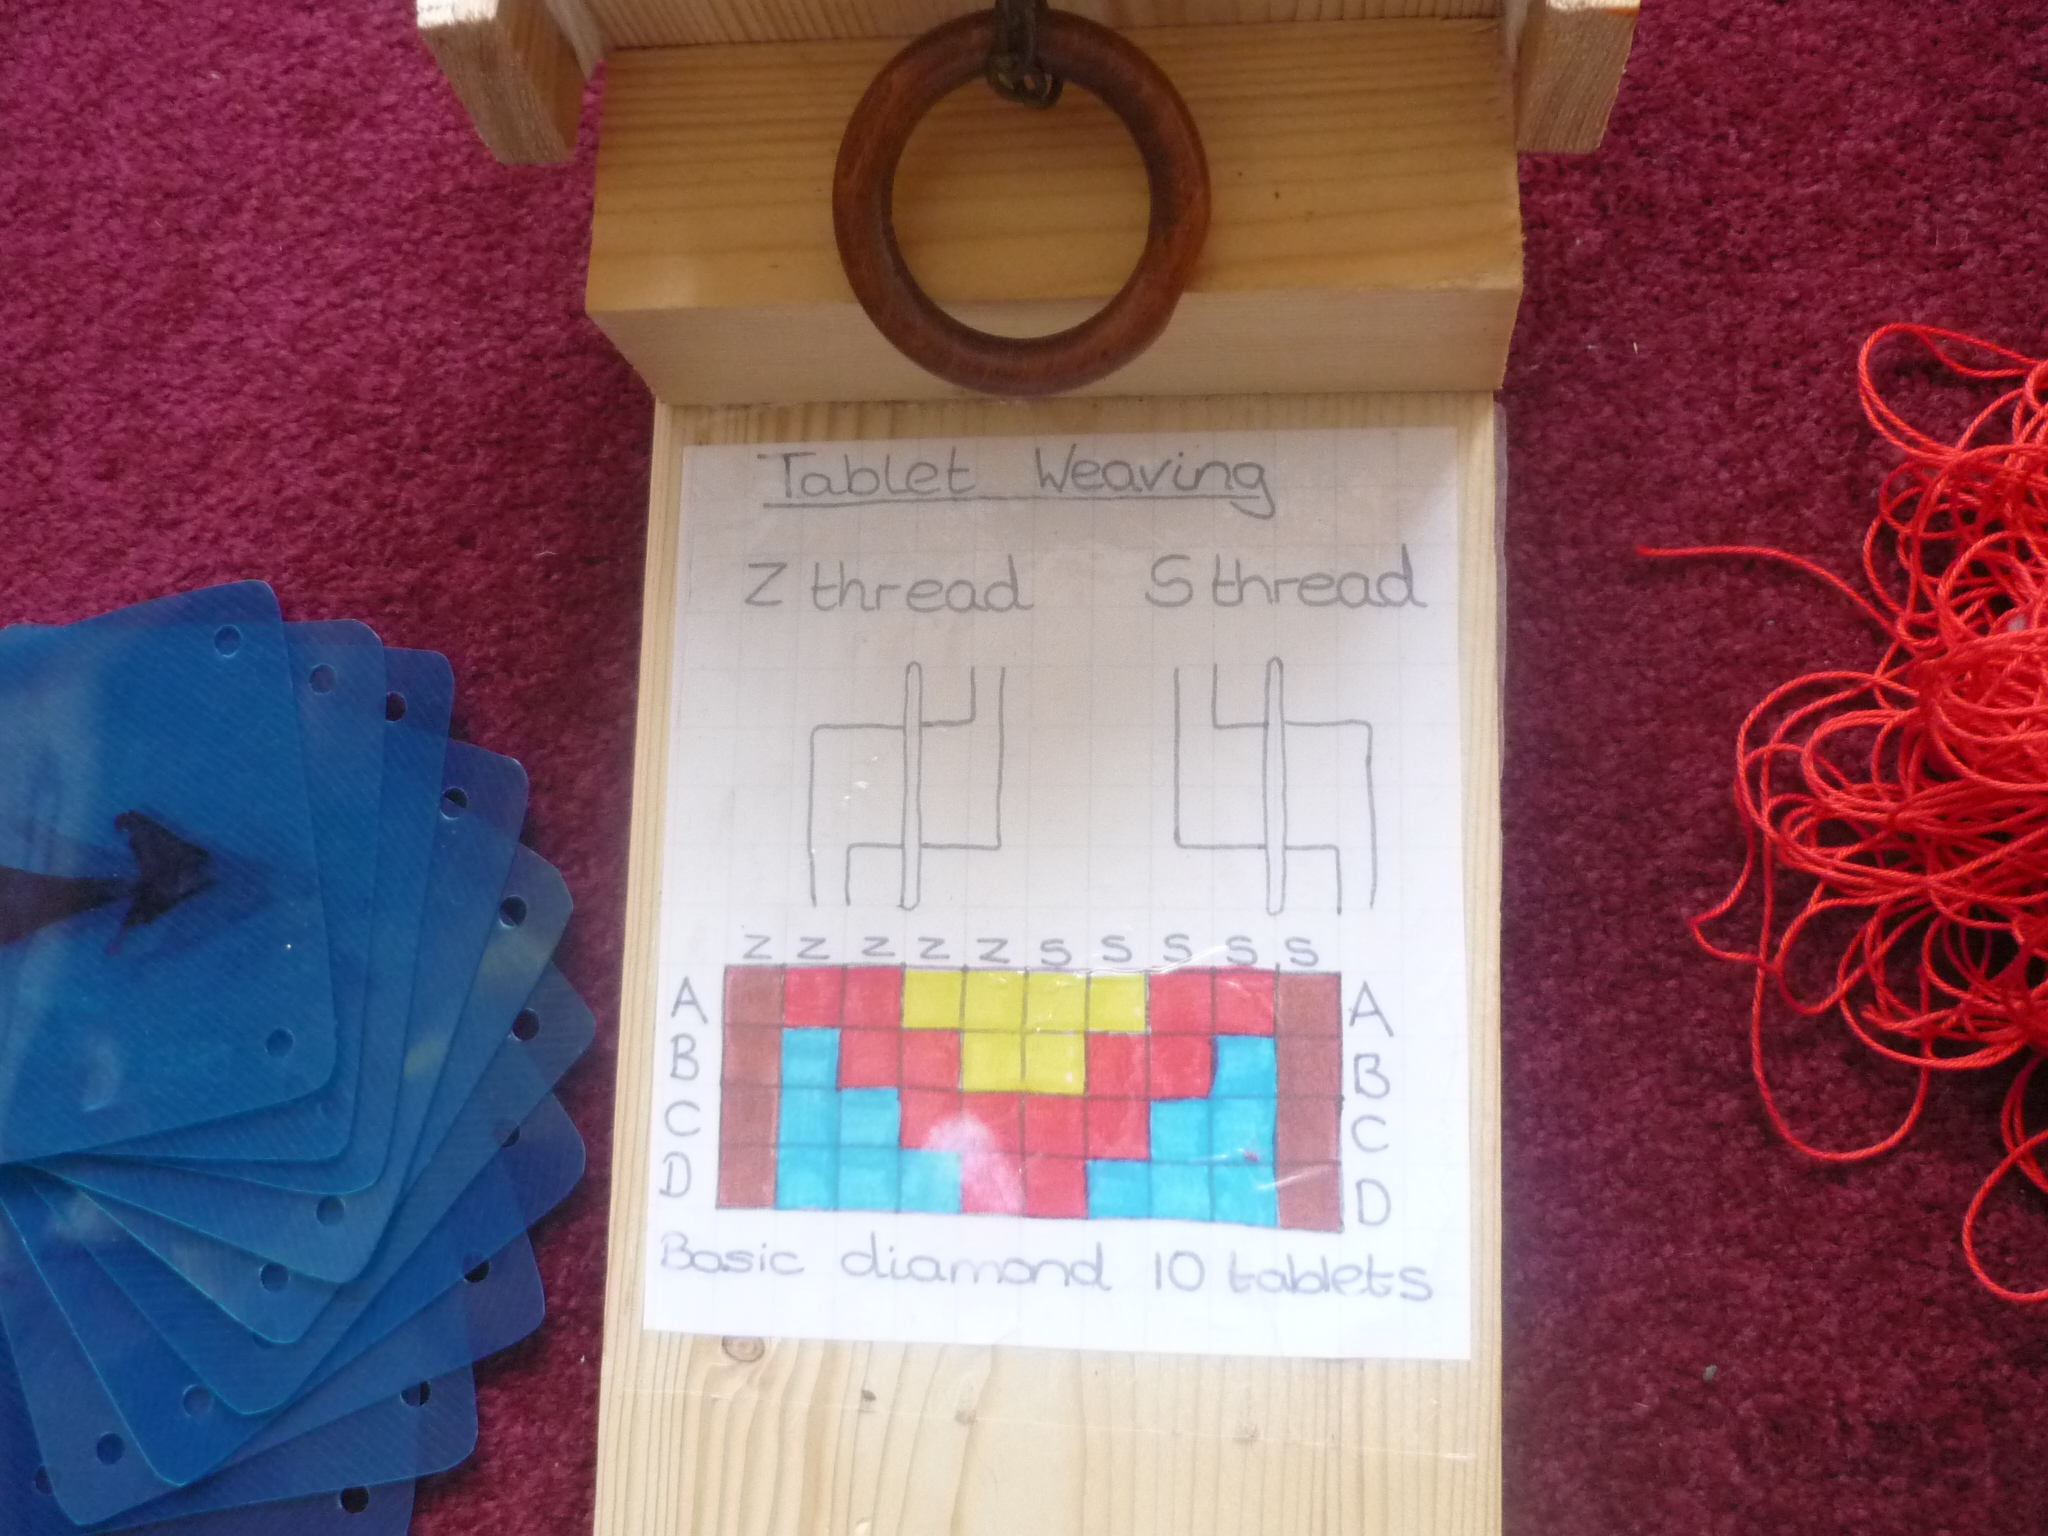
In the design you can see the different ways of threading the tablets, either s-thread or z-thread. This will be explained later.
This design needs 10 tablets (the number of columns across) The tablets I generally use have been cut out from sheets of plastic (similar to the type you will find on the cover of plastic display folders) Each tablet has a hole punched in each corner and an arrow drawn on to show start/finish direction (this will help when weaving to keep all the tablets in the correct orientation)

Each tablet corresponds to one of the columns in the design. The holes correspond to the A, B, C, D rows in the design (some people like to write these letters directly onto the tablets.)
For the first tablet each hole needs to be threaded in fawn using a z-thread set-up (meaning the threads come in to each hole from the right and out from the left)

Once all four warps have been threaded in the correct way they are tied securely to the ring at the top of the frame.

I then refer to the diagram for the next tablet (next column across). This tells me that I need one red thread and three blue.

After threading the tablets they are tied onto the ring next to the previous threads. To keep the warp threads organised I stack the tablets in order.


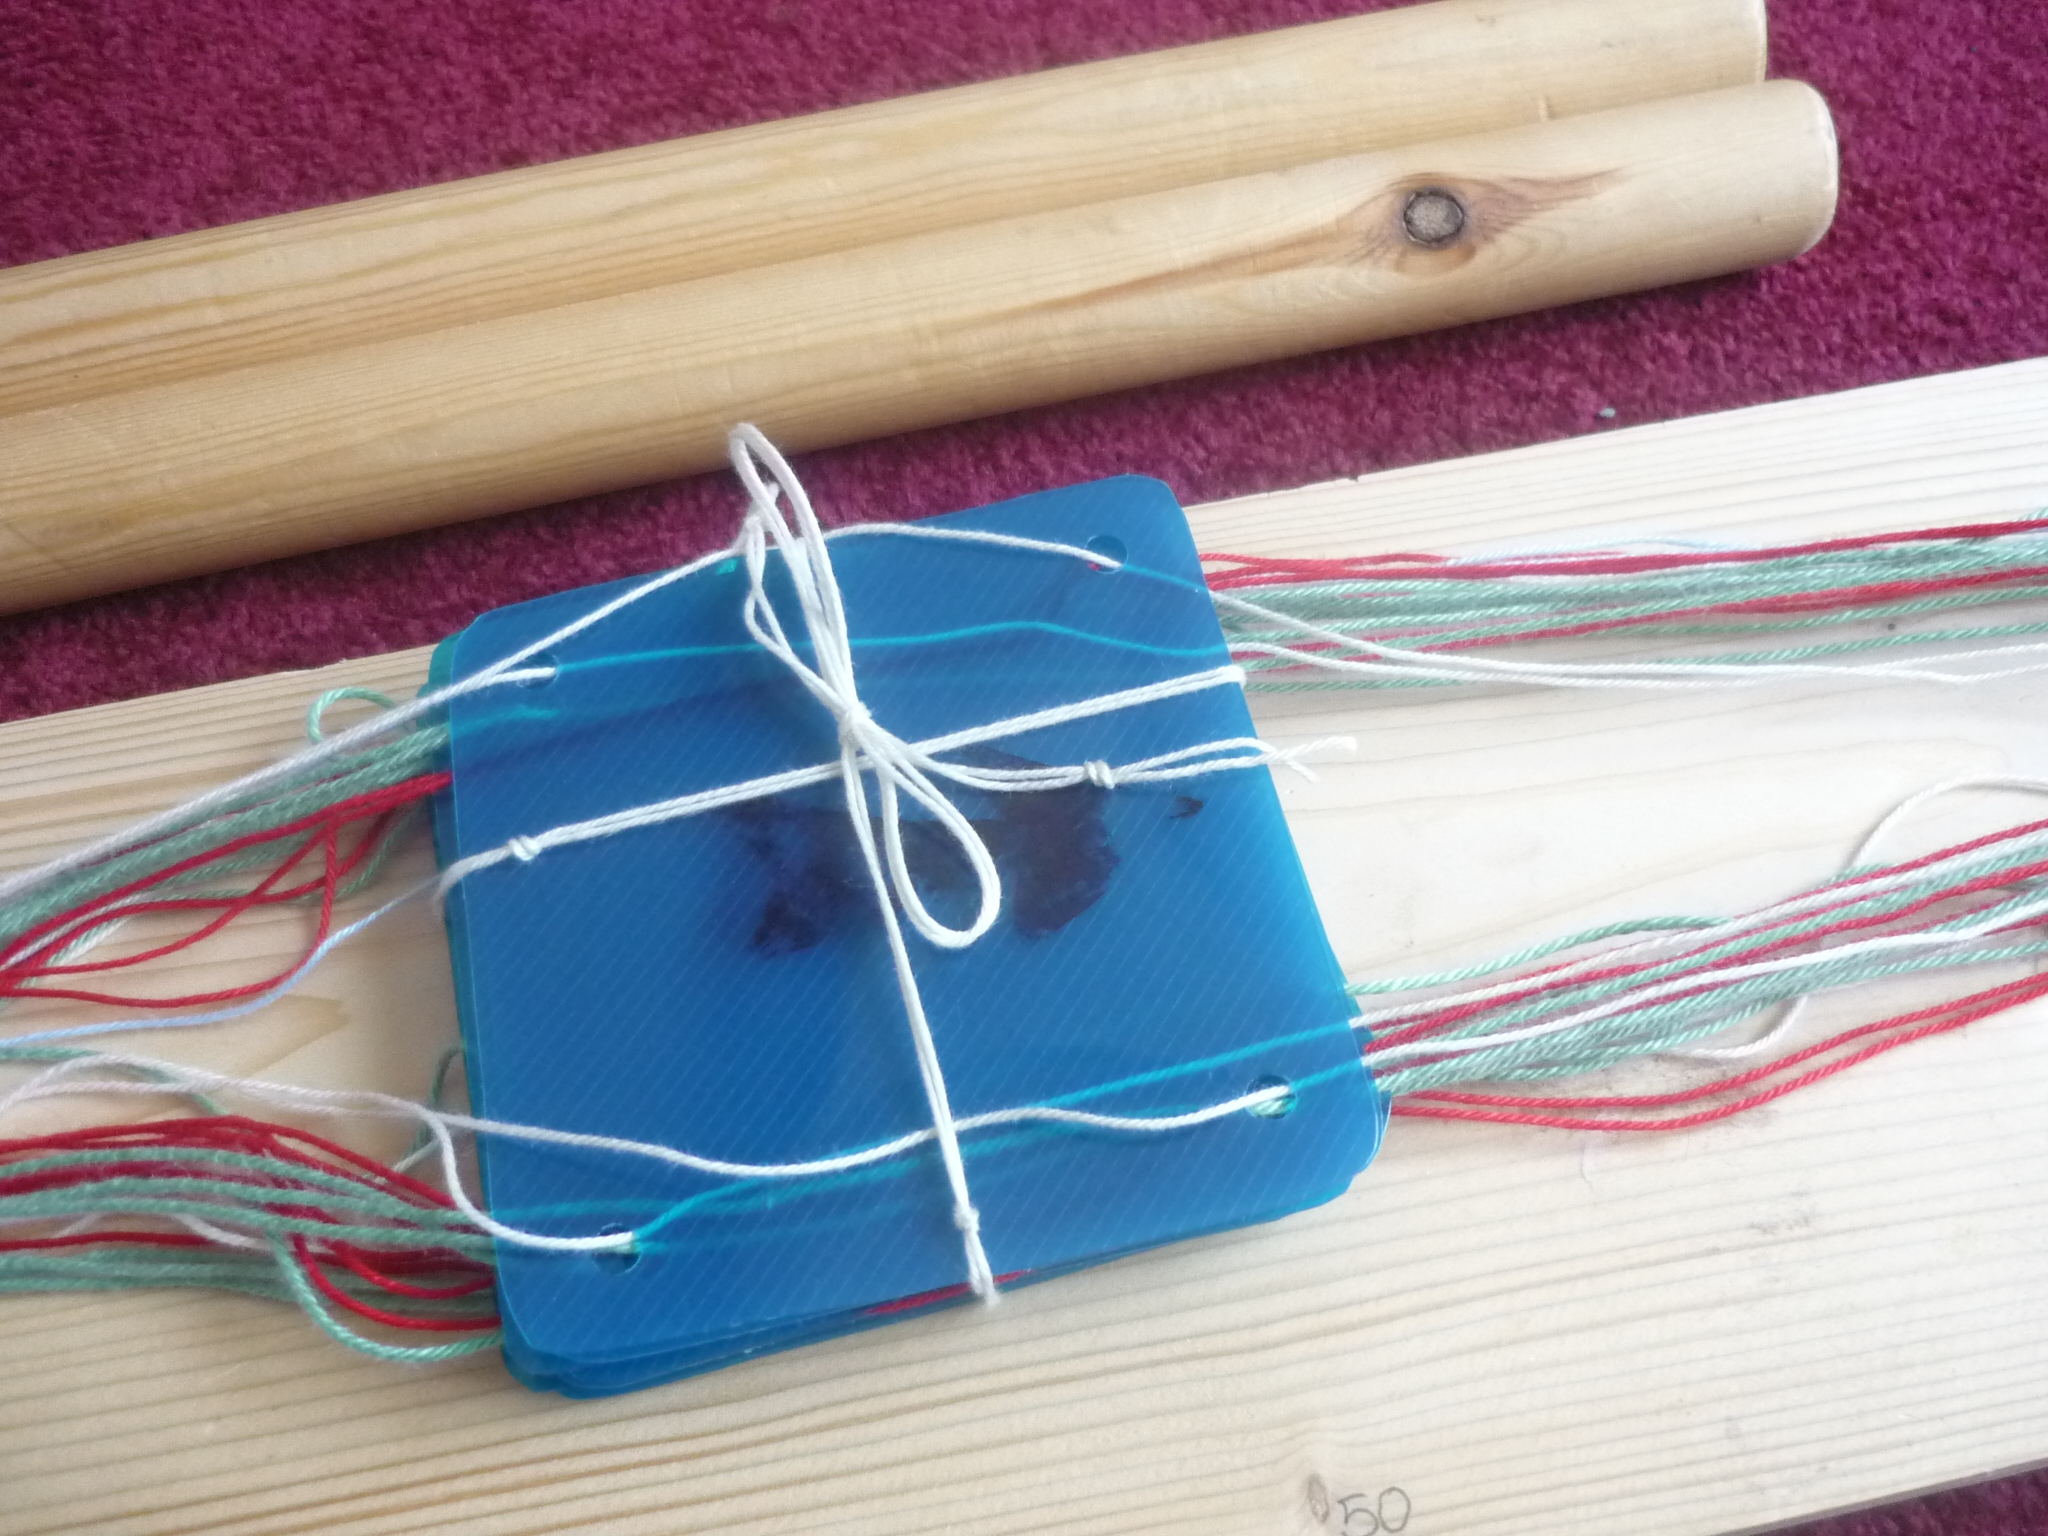
Once all the tablets are threaded up in the correct threads and stacked in order I loosely tie the stack of tablets together.

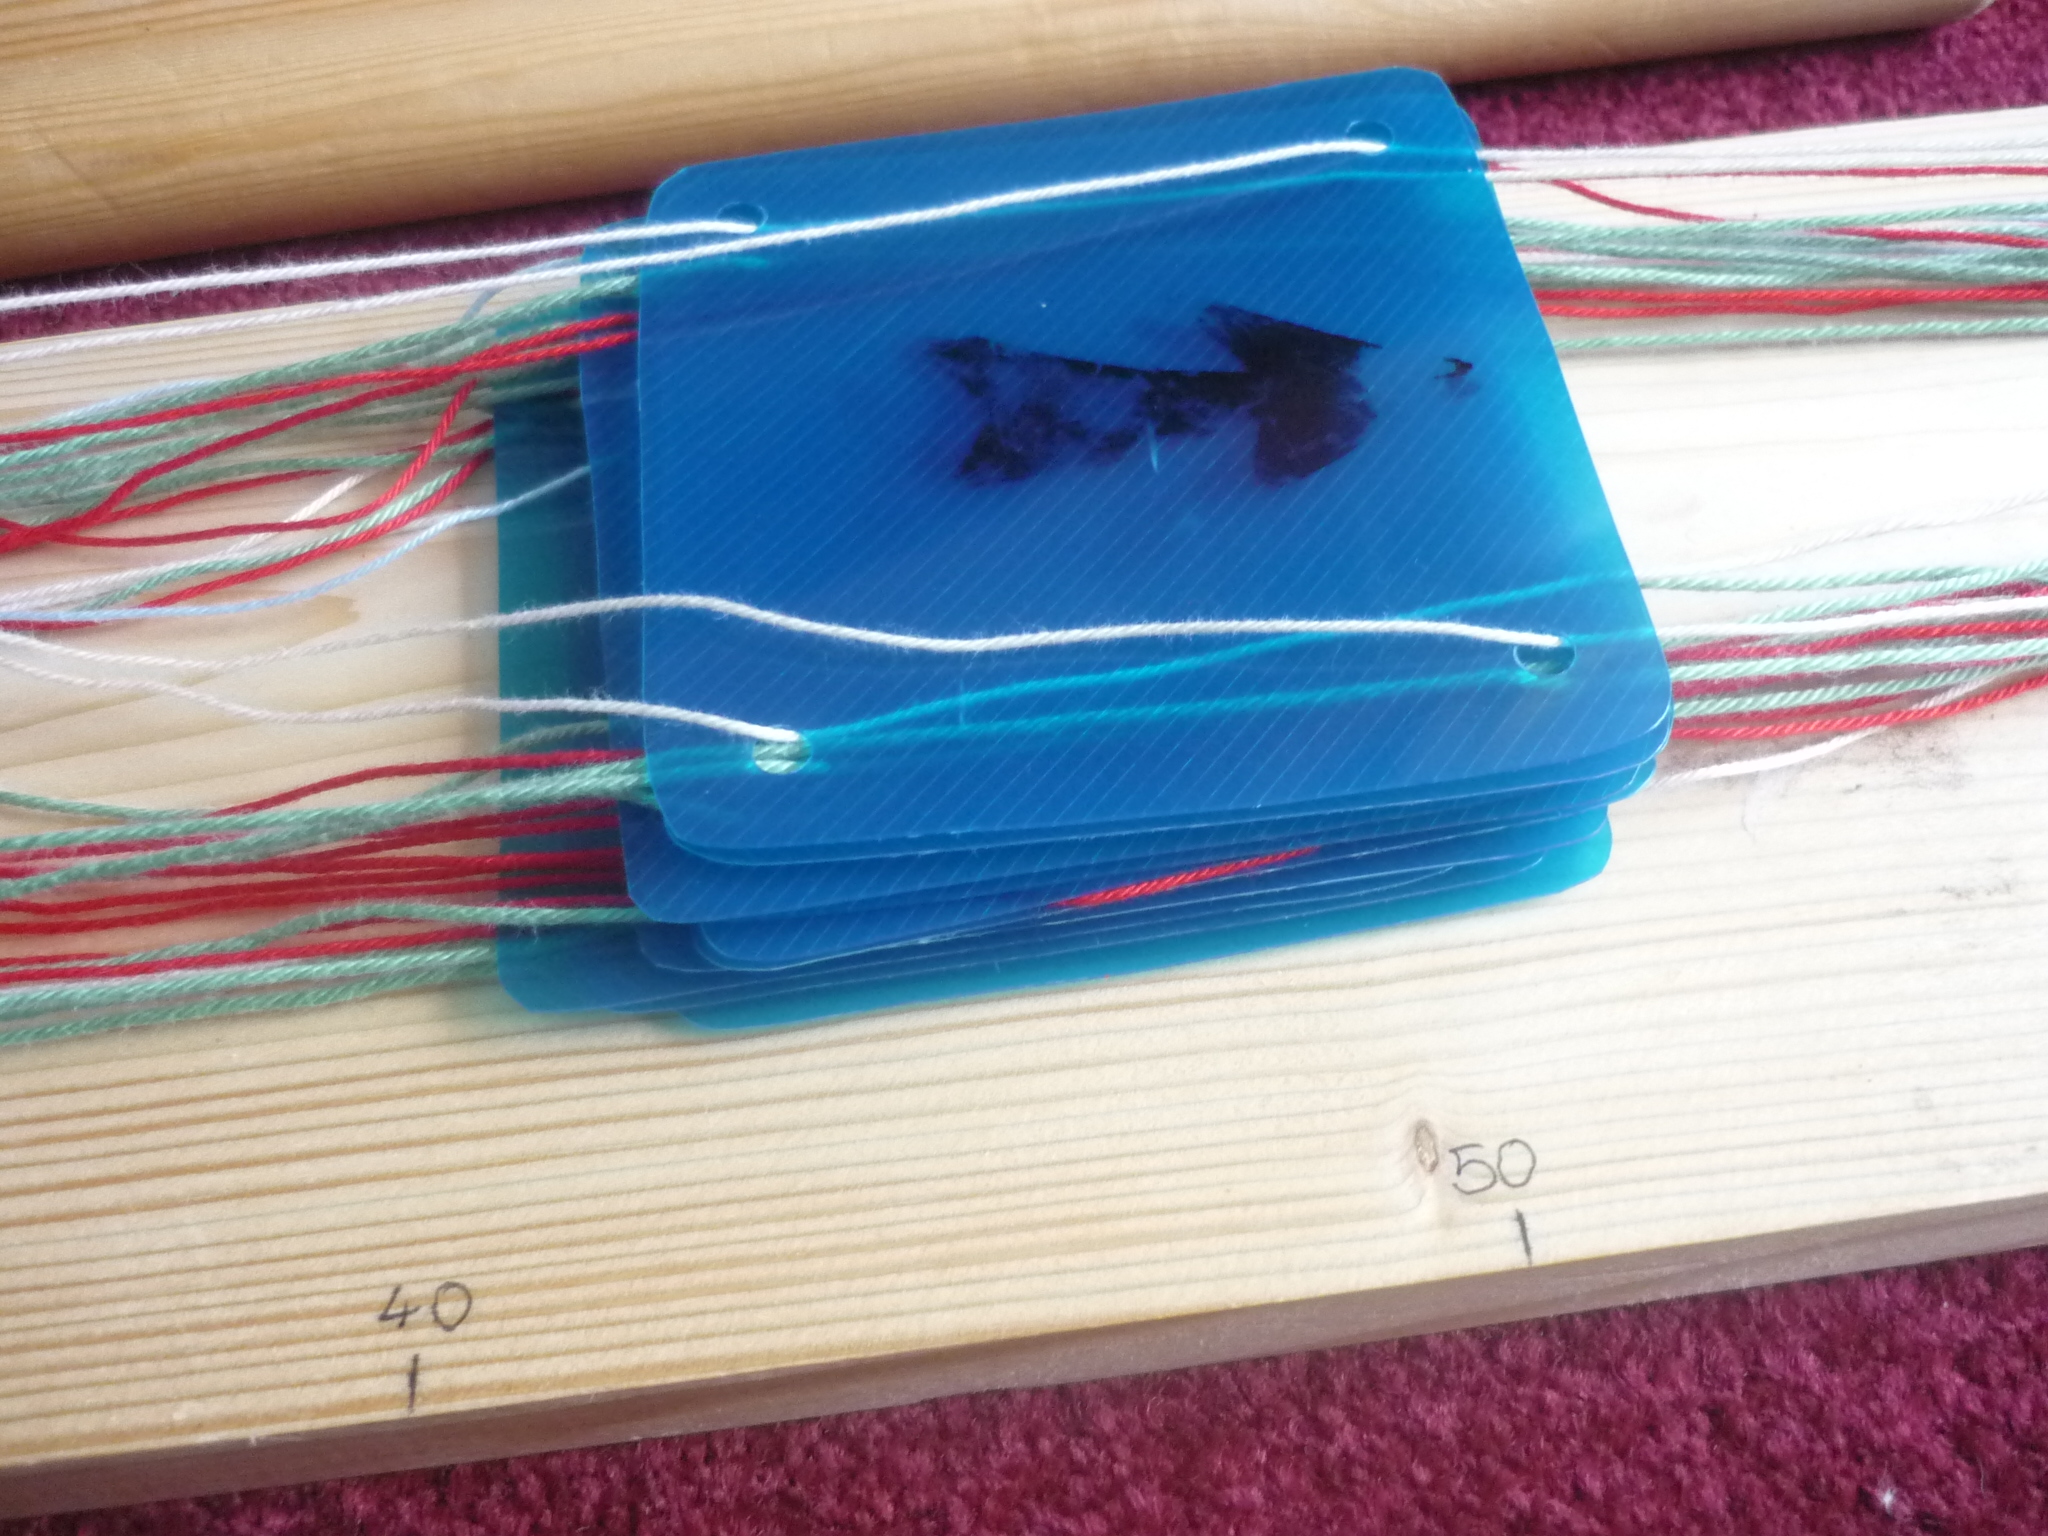
At the opposite end of the frame I now have a big tangle of all the excess warp thread.
 This needs to be carefully teased out in order and wrapped securely around one of the poles which is then securely tucked under the arms of wood protruding from the end of the frame to add tension to the warp threads.

I then untie the binding around the tablets and attach the ball of weft thread onto the ring at the top.


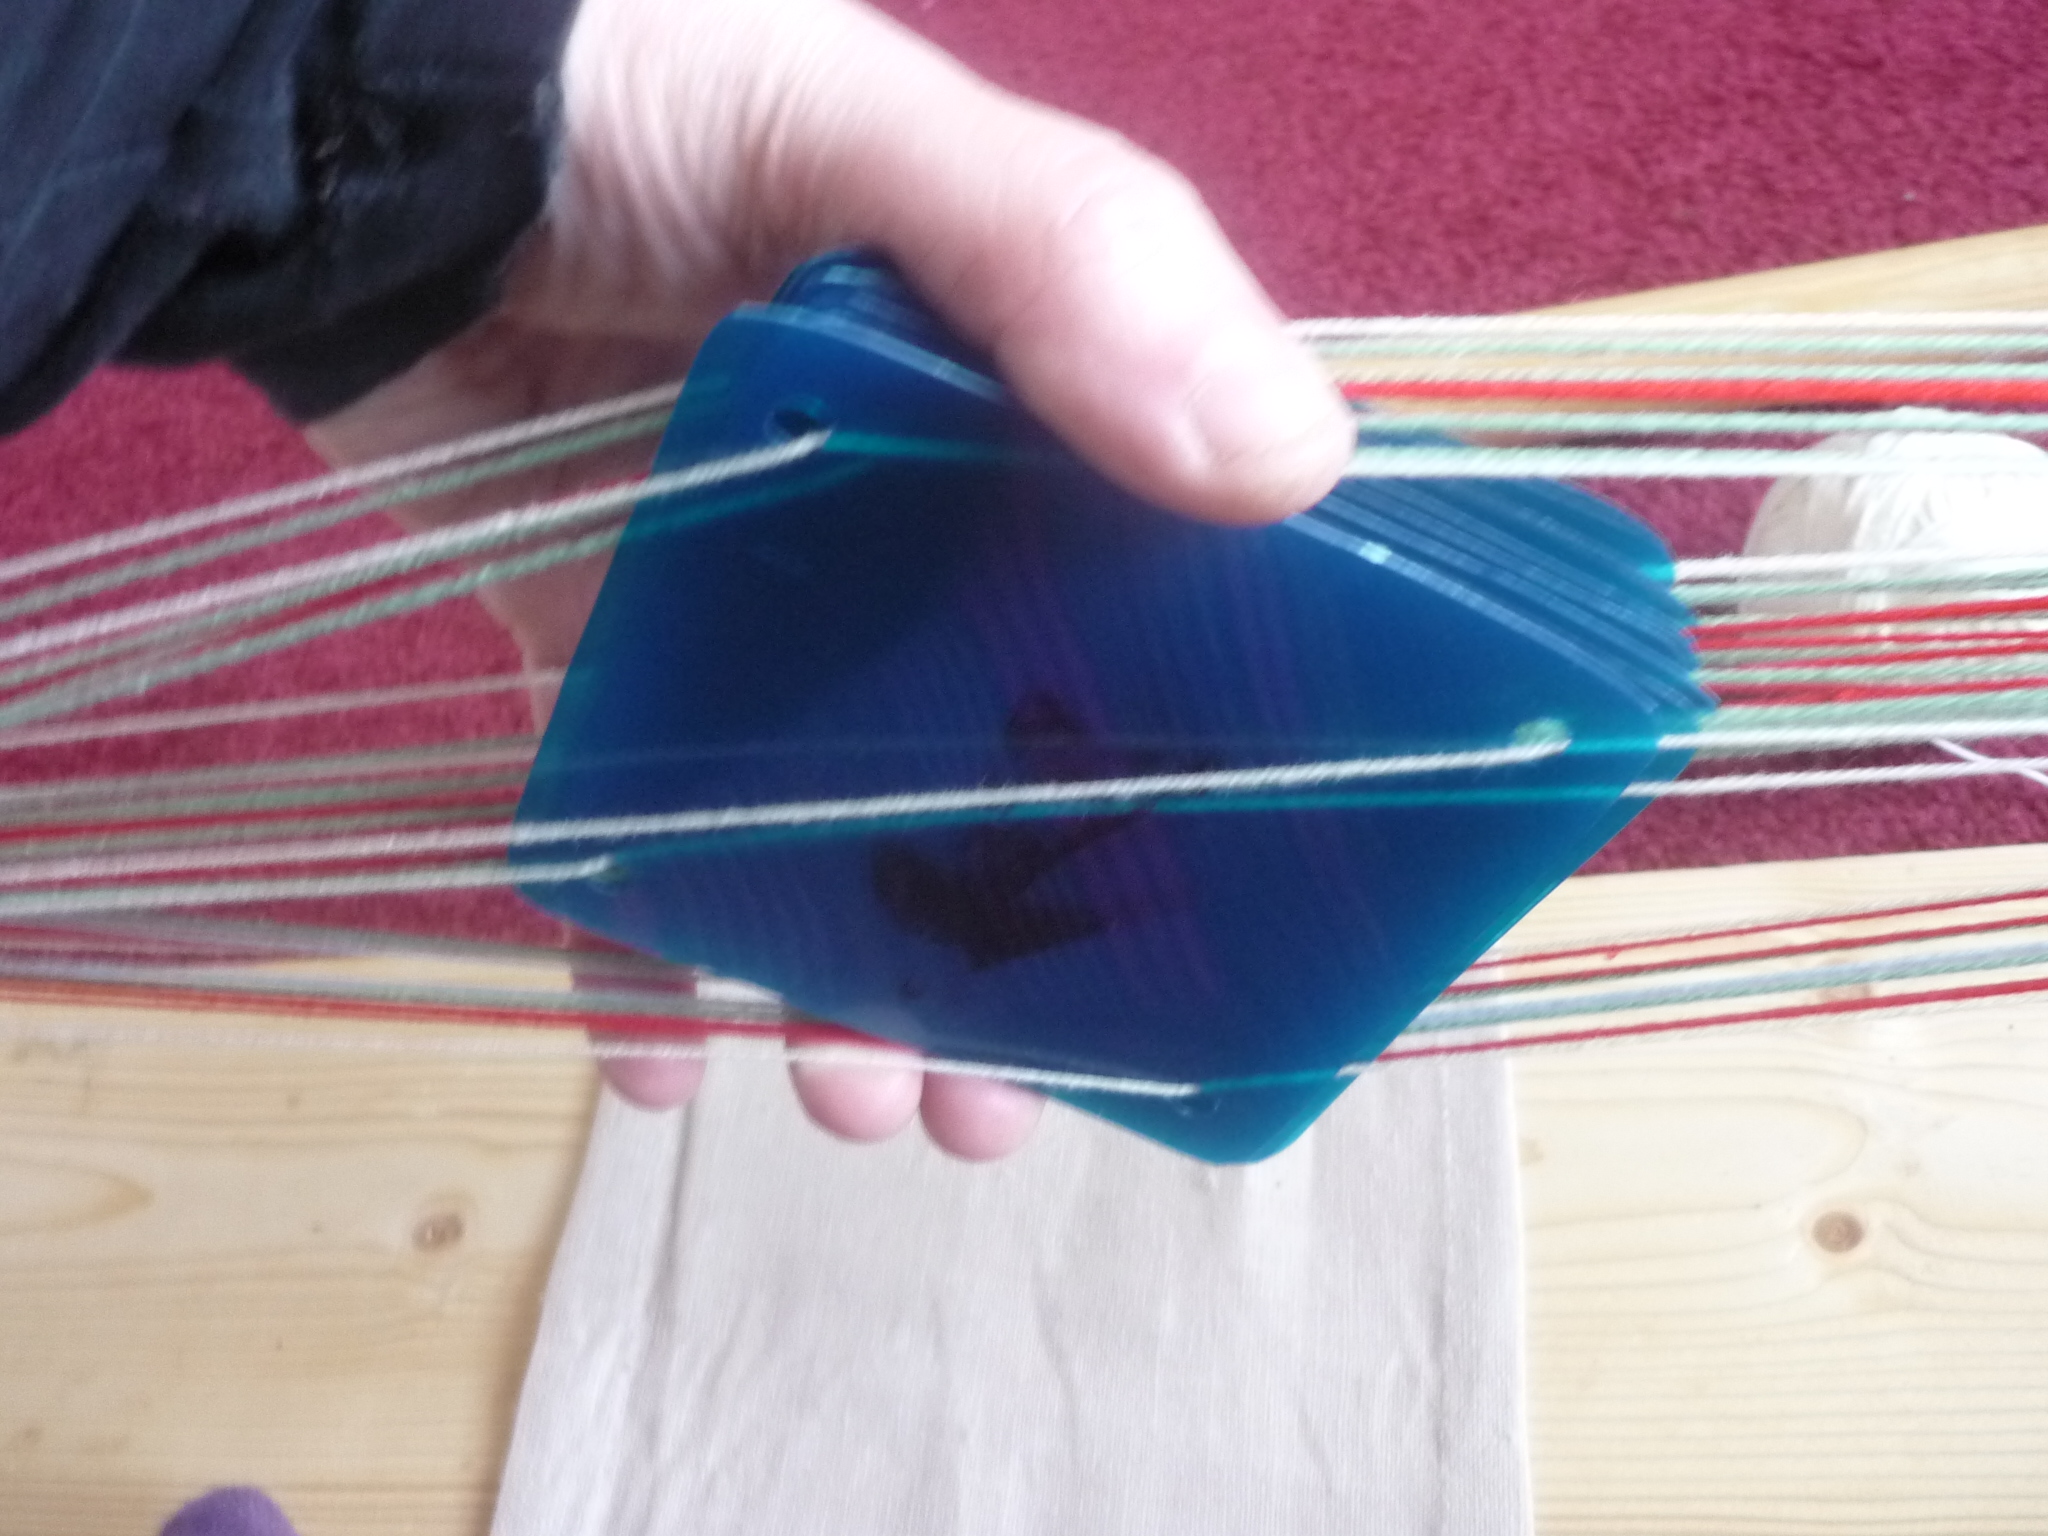
The weft thread is passed through the shed that has formed when the tablets are square.

The tablets are then all rotated 90° clockwise. The warp thread is passed back and the tablets are rotated 90° clockwise again.

Once this has been done 4 times half of the diamond should have been woven (the chevron shape as on the diagram.)

To complete the diamond shape the weaving continues with the weft thread passing back and forth through the warp threads but now the tablets are turned anti-clock wise four times. This will now create the complete diamond shape.

If at any point the weaving is left the tablets can be re-tied together to prevent tangling.
As the braid grows it will be necessary to move the work along the frame to maintain a large working area. To do this the unwoven ends of the warp threads are unwound from the end pole and the woven braid is wound onto the other end of the frame.
For transportation the tablets are bound together and then the frame is wrapped up securely in a custom-made cover to protect the weaving and components.

For authentic situations the plastic tablets can be replaced with wooden (bone or hardened leather would also be suitable) The portability of this frame and set up means that it is possible for me to weave in all sorts of locations.

Using this frame I have woven many different colour combinations and patterns including this 9m section (part of a commission for a Viking display in Barrow Dock Museum)

I have also tried various patterns including this specially commissioned “rainbow” which incorporated diamonds, chevrons and crosses.
For this I turned the tablets 12 turns clockwise followed by 12 turns anti-clockwise.
Tablet weaving can be a lot of fun! I am hoping to try different patterns in the future including a rams horn pattern.
If you would like any more information about tablet weaving please contact me via rachel@pixiecreations.co.uk
